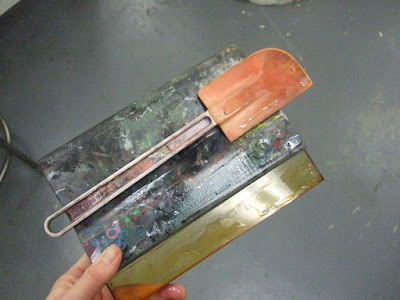
Materials needed:
- Screen
- Squeegee
- Packing tape
- Screenprinting ink
- Butcher paper or water-resistent paper
- Craft knife
- Cutting mat
- Marker
- Paper
- Acetate (one sheet)
- Spatula
Step Two: Cut out your design with the craft knife.

Step Three: Adhere your stencil to the outer side of the screen with packing tape. Make sure the coated side is taped against the screen. Tape any areas close to the image area where you do not want ink to go through the screen.

Step Four: Put your screen in the clamps and adhere the acetate near where the stencil will be printed.

Step Six: With two hands (not shown in picture), push and pull the ink with the squeegee at approximately a 45 degree angle towards yourself; printing on the acetate.

Step Seven: You now know exactly where the ink will land when you pull your prints. Place your paper where you want the print to be, then remove the acetate and pull again- this time printing on the paper.

Step Eight: Flooding between pulls will prevent the screen from drying out. Flooding is when you gently pull a layer of ink over the print area.
Step Nine: Put your print on the drying rack and repeat.
Step Ten: Once you are finished printing, clean out the ink in your screen and on your spatula and squeegee. Hold your screen up to the light to make sure there is no blockage.


